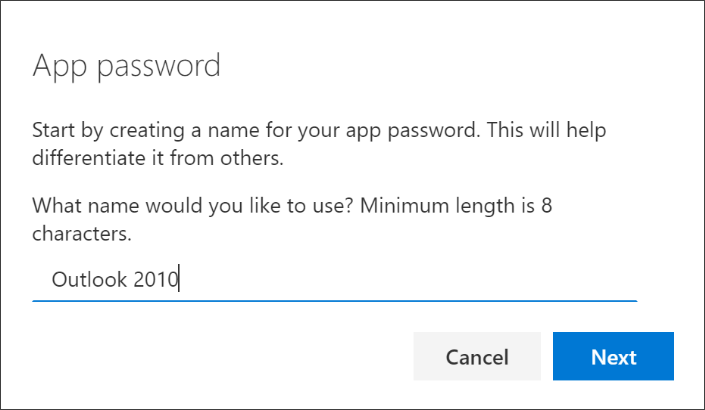
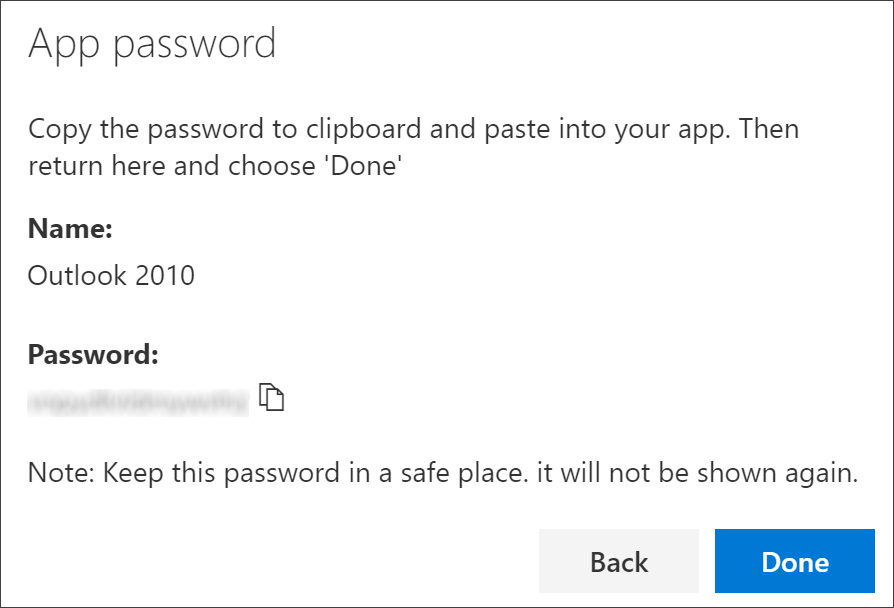
Certain apps, such as Outlook 2010, don't support two-step verification. This lack of support means that if you're using two-step verification in your organization, the app won't work. To get around this problem, you can create an auto-generated password to use with each non-browser app, separate from your normal password.
If what you're seeing on your screen doesn't match what's being covered in this article, it means that your administrator hasn't turned on this experience yet. Until this experience is turned on, you must follow the instructions and information in Set up my account for two-step verification.
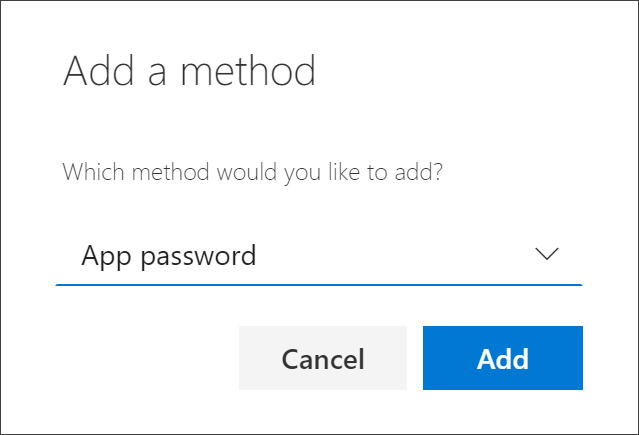
Important: Your administrator may not allow you to use app passwords. If you don't see App passwords as an option, they're not available in your organization.
When using app passwords, remember that:
Note: Office 2013 clients (including Outlook) support new authentication protocols and can be used with two-step verification. This support means that after two-step verification is turned on, you won't need app passwords for Office 2013 clients. For more info, see the How modern authentication works for Office 2013 and Office 2016 client apps article.
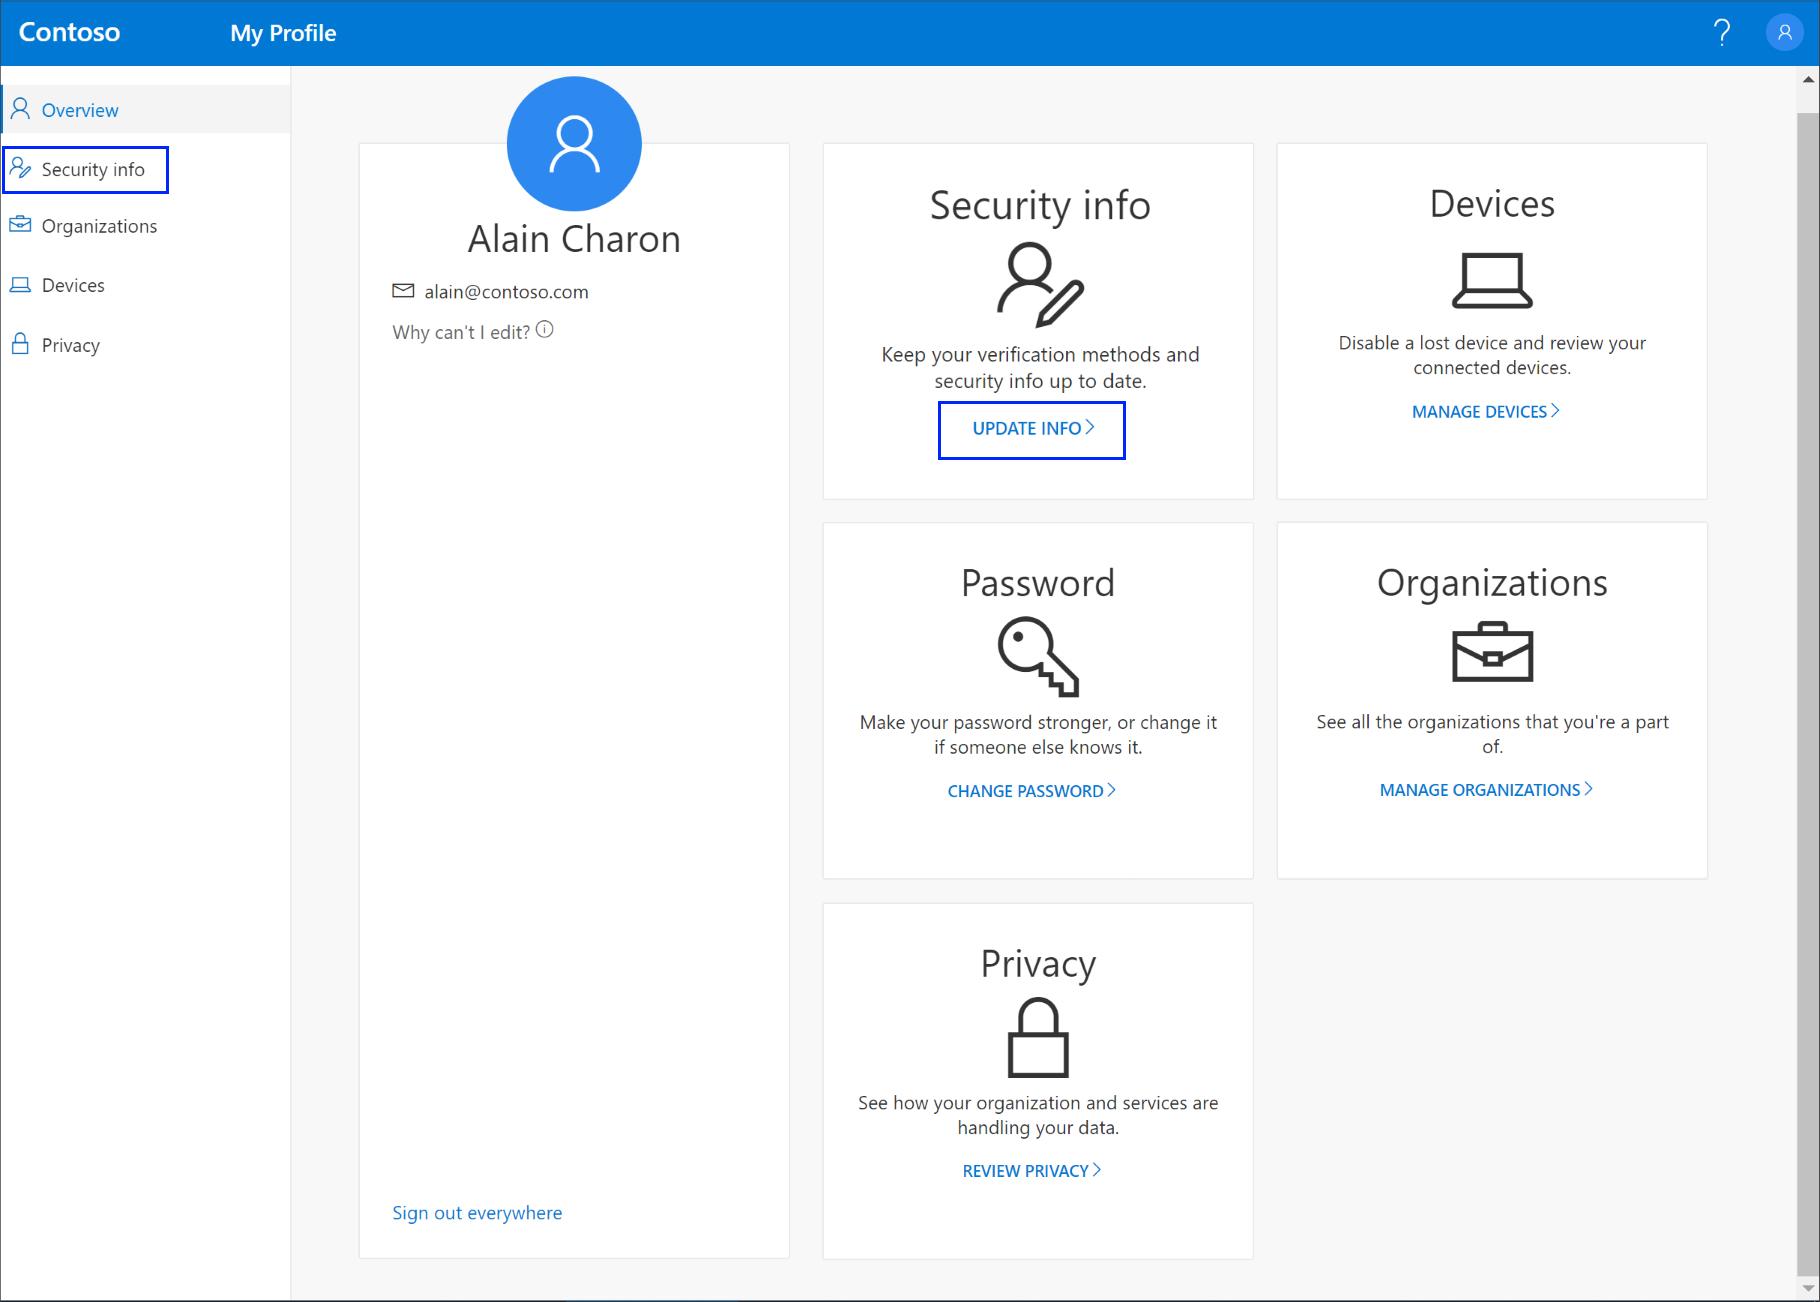
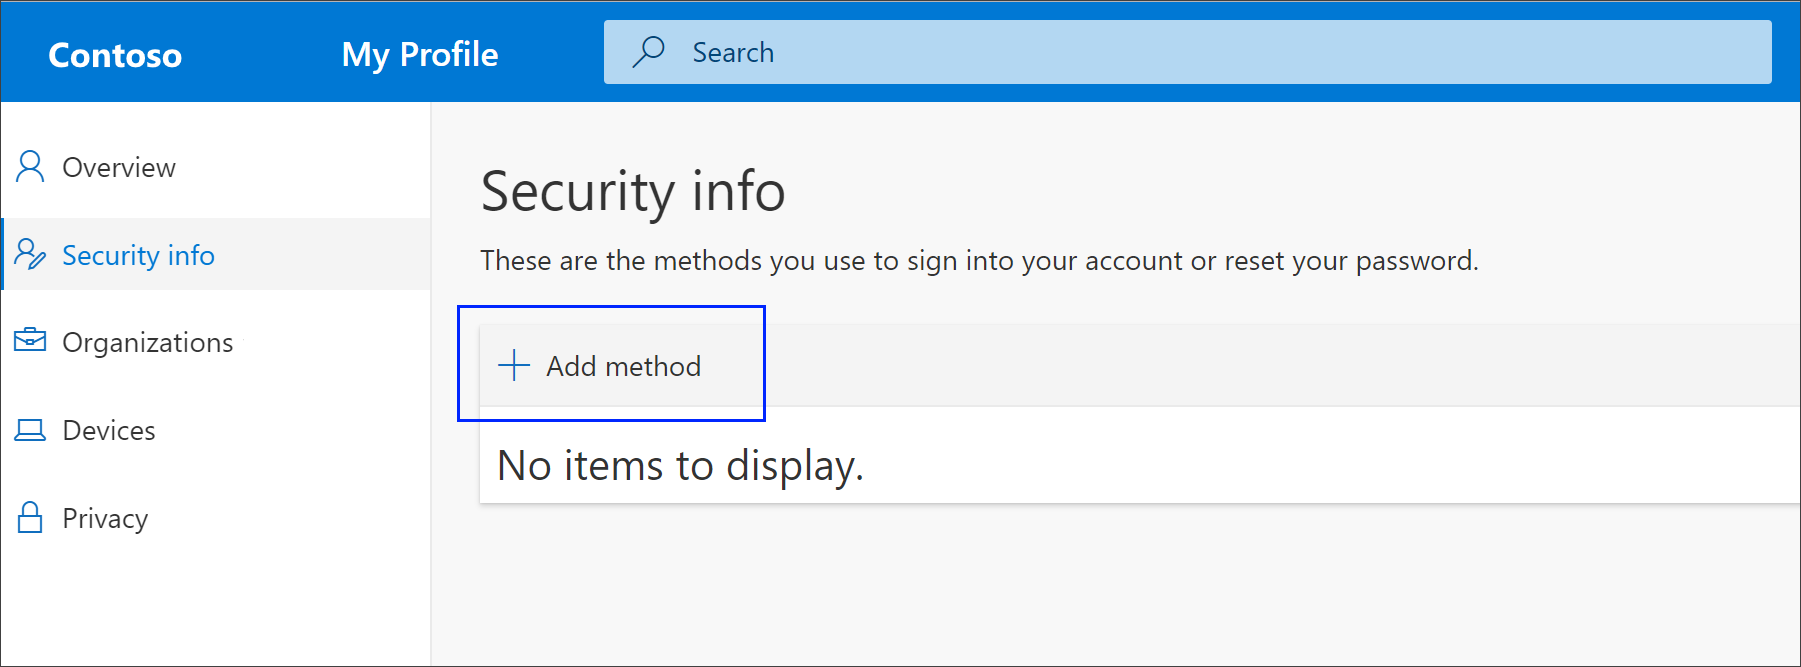
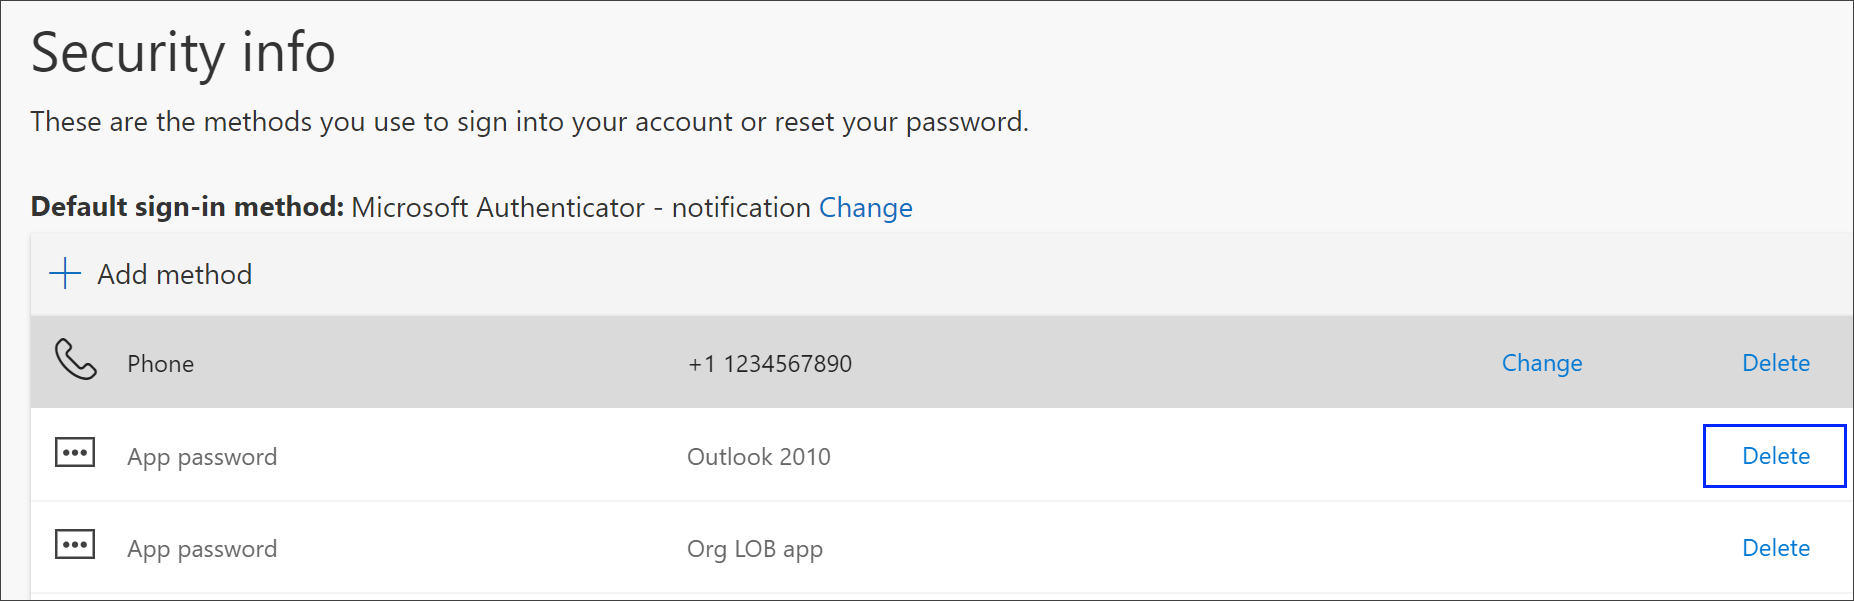
If you use two-step verification with your work or school account and your administrator has turned on the security info experience, you can create and delete your app passwords using the Security info page.
Note: If your administrator hasn't turned on the security info experience, you must follow the instructions and information in the Manage app passwords for two-step verification section.
If you no longer need to use an app that requires an app password, you can delete the associated app password. Deleting the app password frees up one of the available app password spots for use in the future.
Important: If you delete an app password by mistake, there's no way to undo it. You'll have to create a new app password and re-enter it into the app, following the steps in the "Create new app passwords" section of this article.
For more information about the Security info page and how to set it up, see Security info overview.